The Ultimate Guide to Installing a Durable Paver Driveway
Installing a paver driveway is an excellent investment that enhances the curb appeal and functionality of your property. However, achieving a driveway that lasts for many years requires meticulous planning, high-quality materials, and precise installation techniques. This article will guide you through the best practices for installing a paver driveway to ensure durability and satisfaction for decades.
The Importance of Proper Soil Preparation
Before starting any driveway installation, the first and most crucial step is to remove all unsuitable soil. This includes soil types that do not compact well or are not meant for construction purposes, such as:
- Organic Soil: Contains decomposed plant matter, which breaks down further over time, leading to instability.
- Clay: Retains water and expands or contracts with temperature changes, making it unsuitable as a foundation.
- Sand and Clay Mixtures: These are highly unstable and can shift under weight and weather changes.
Removing these materials ensures that your driveway will not settle unevenly or develop structural issues later. Replace the excavated soil with high-quality base materials for a stable foundation.
RCA Aggregate Base: The Key to Stability
After removing unsuitable soil, it’s essential to replace it with Recycled Concrete Aggregate (RCA) or a similar high-quality material. RCA is durable, compactable, and provides a strong foundation for your driveway.
Steps to Install an RCA Base:
- Layered Installation: Apply the RCA in layers, typically 4-6 inches thick.
- Compaction: Use a vibratory roller to compact each layer thoroughly. Proper vibration ensures 100% compaction, eliminating voids or air pockets that could lead to settling.
- Check for Stability: Perform a compaction test to confirm the base is solid and capable of supporting the weight of vehicles.
A properly compacted RCA base is essential for the longevity of your paver driveway.
Reinforced Concrete Base: A Strong Foundation
To take your driveway’s durability to the next level, consider adding a reinforced concrete base on top of the RCA layer. This layer provides unparalleled stability and resistance to cracking or shifting over time.
Specifications for the Concrete Base:
- Reinforced with Wire Mesh: Incorporate a wire mesh grid into the concrete to add tensile strength and reduce the likelihood of cracks forming.
- High-Strength Concrete: Use concrete with a minimum strength of 4,000 PSI, ensuring it can withstand heavy loads and temperature fluctuations.
- Thickness: The concrete layer should be at least 4 inches thick to provide adequate support for vehicles and to prevent heaving.
The combination of an RCA base and a reinforced concrete layer creates a robust and long-lasting foundation for your driveway.
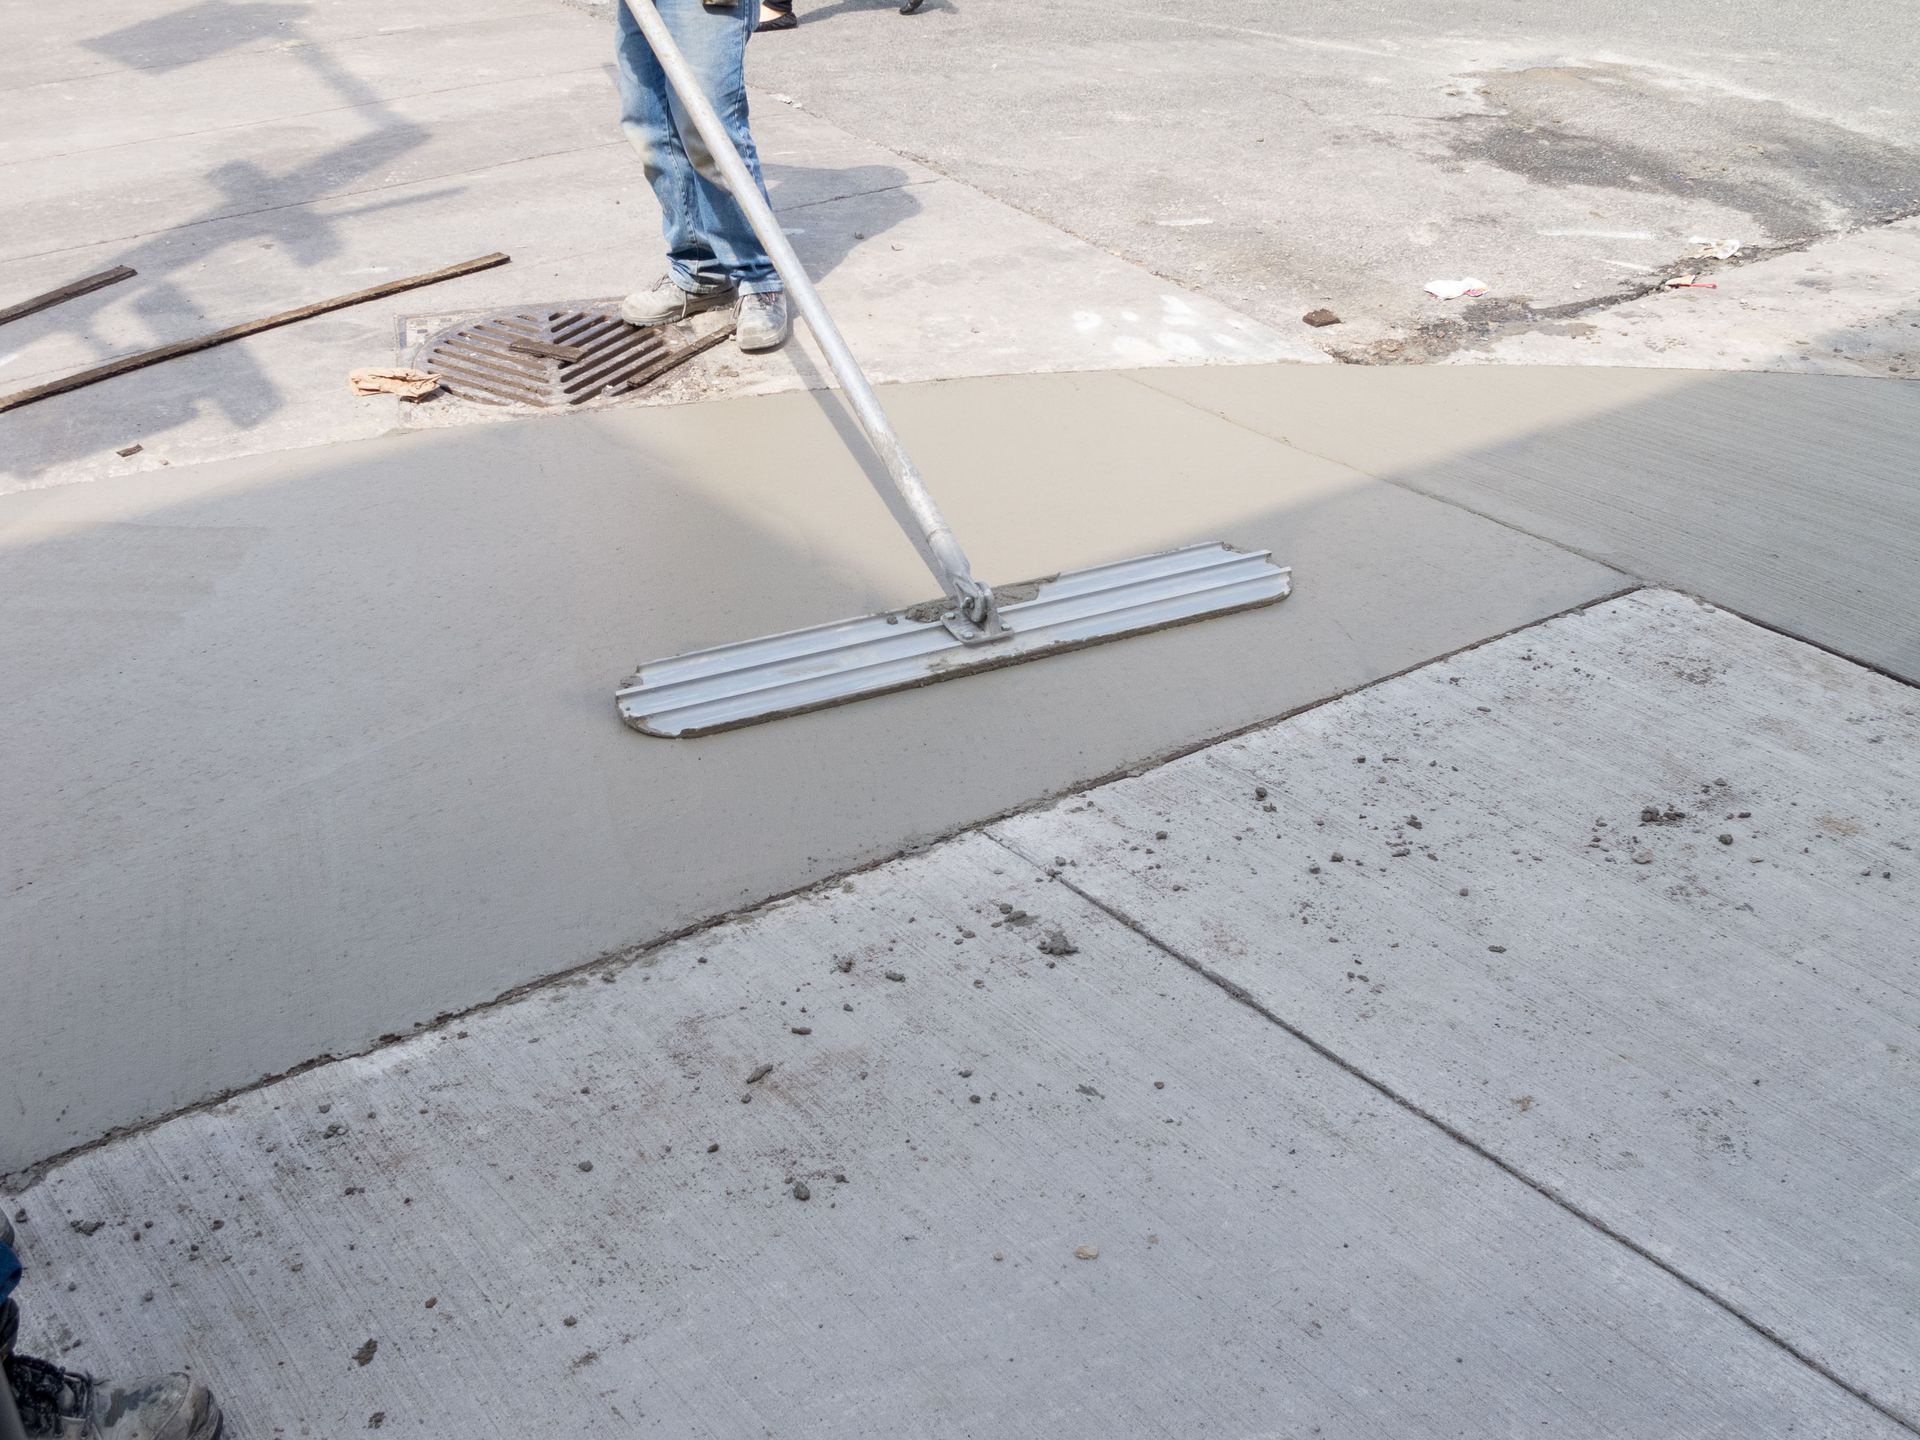
Installing a Sand Layer
After the concrete base has cured, apply a layer of bedding sand. This layer is crucial for creating a smooth and level surface for the pavers to rest on.
Tips for the Sand Layer:
- Uniform Thickness: Keep the sand layer approximately 1 inch thick to avoid excessive settling.
- Proper Screeding: Use a screed board to level the sand evenly, ensuring no high or low spots.
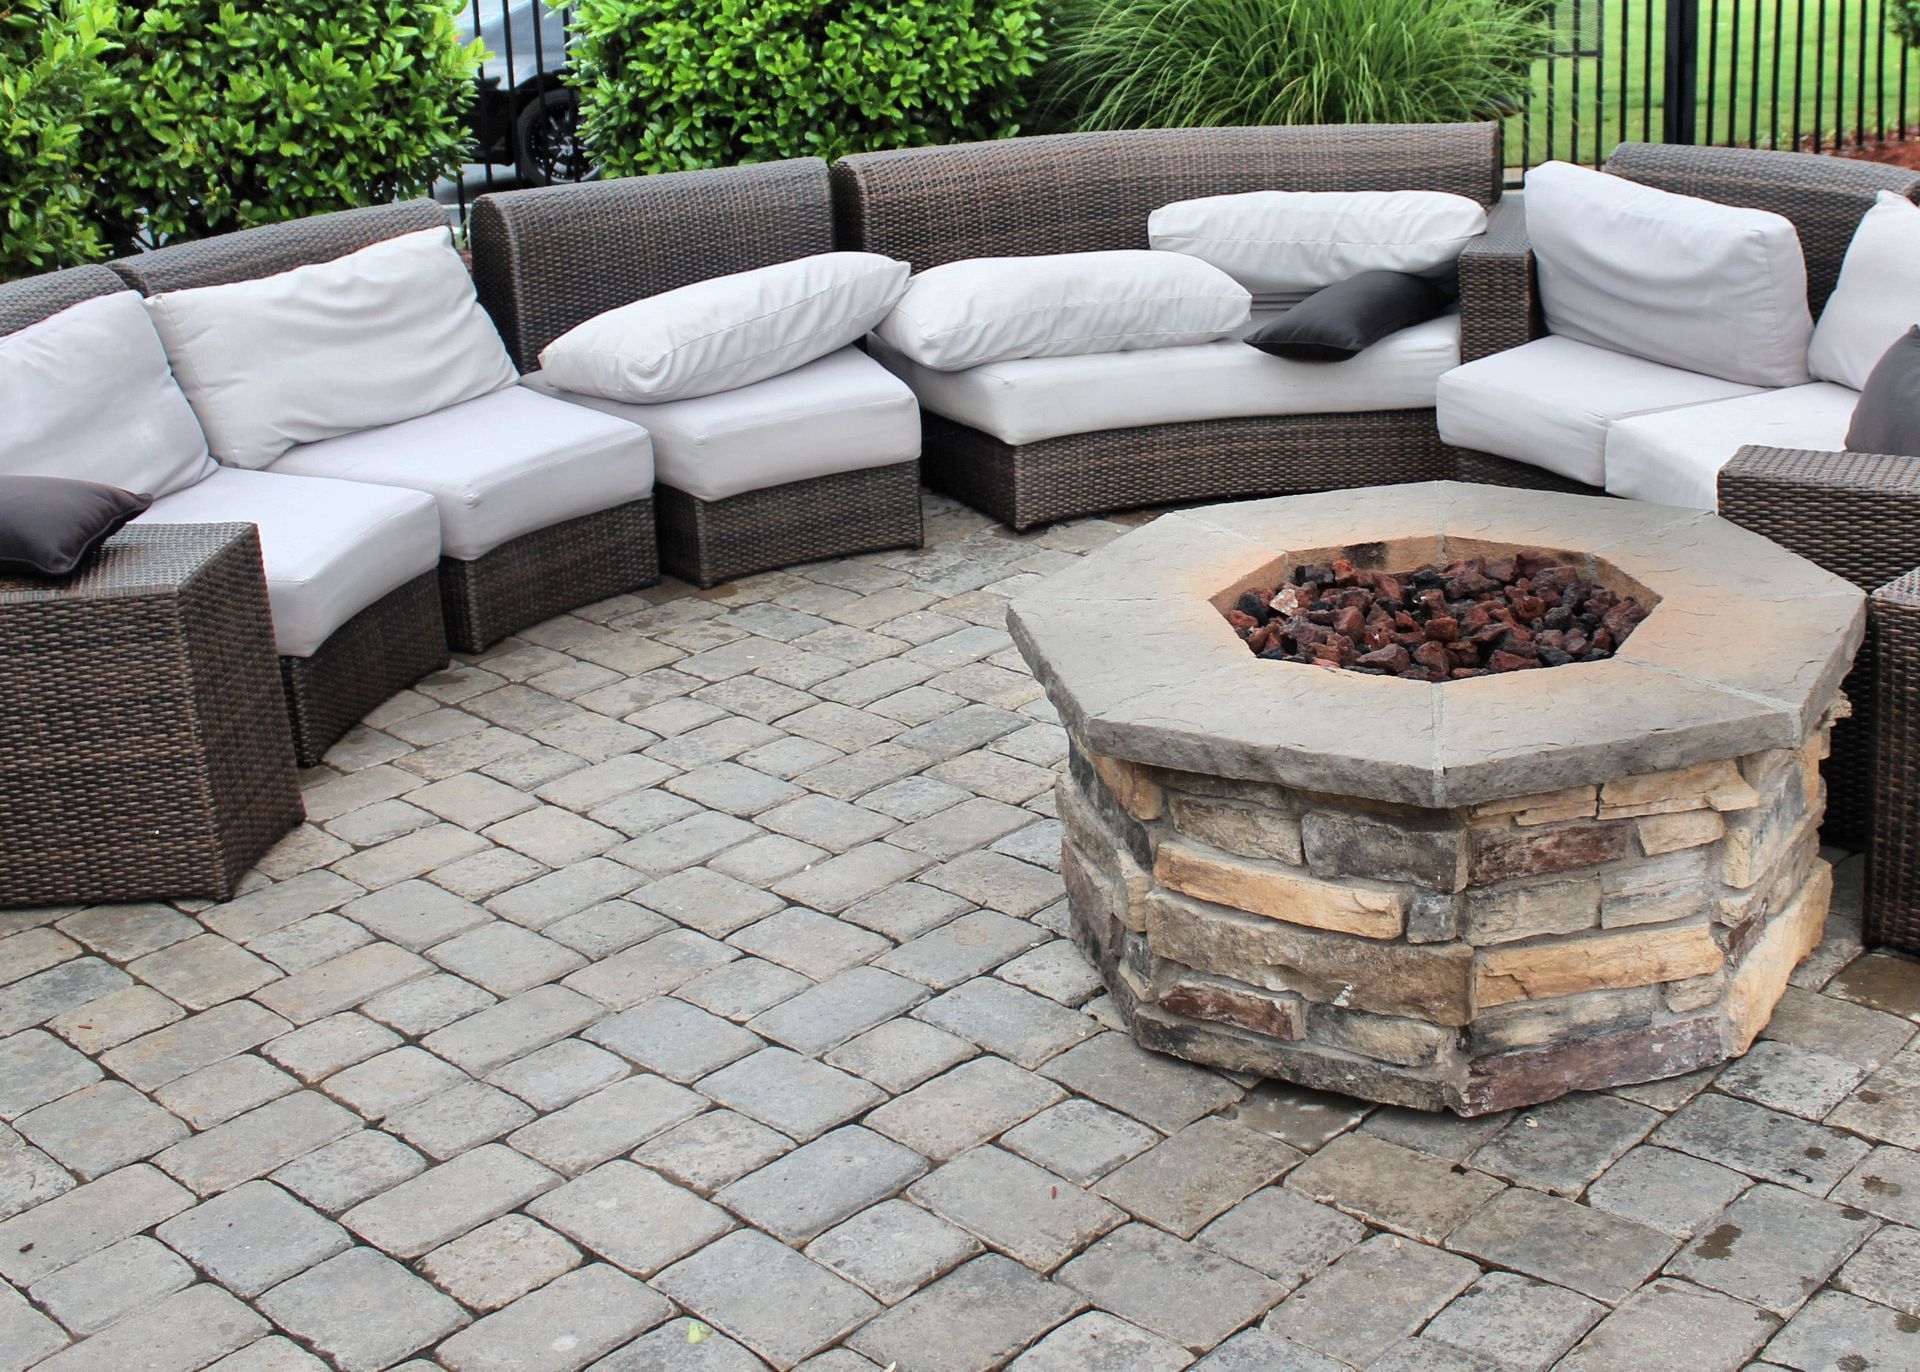
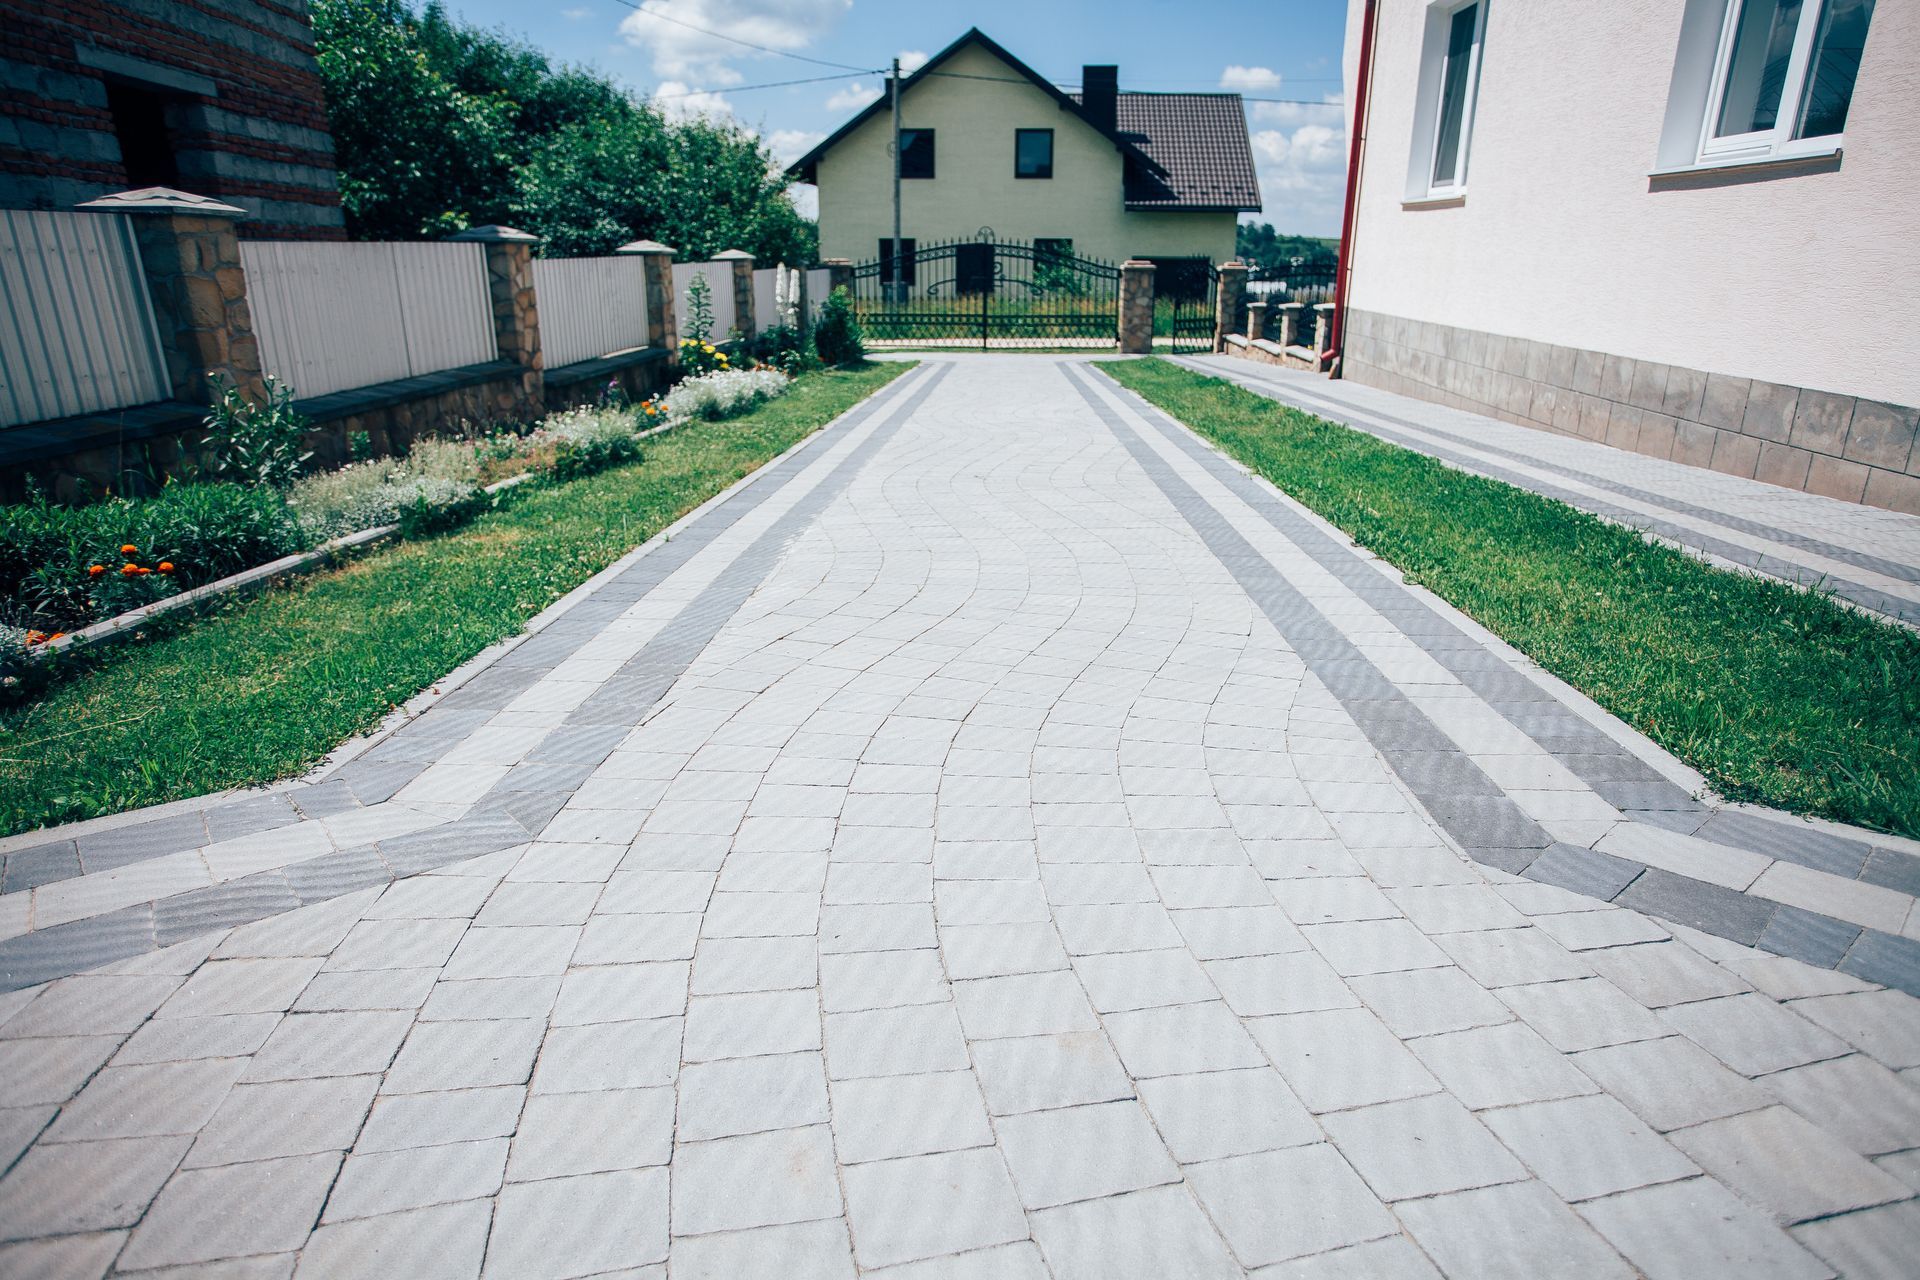
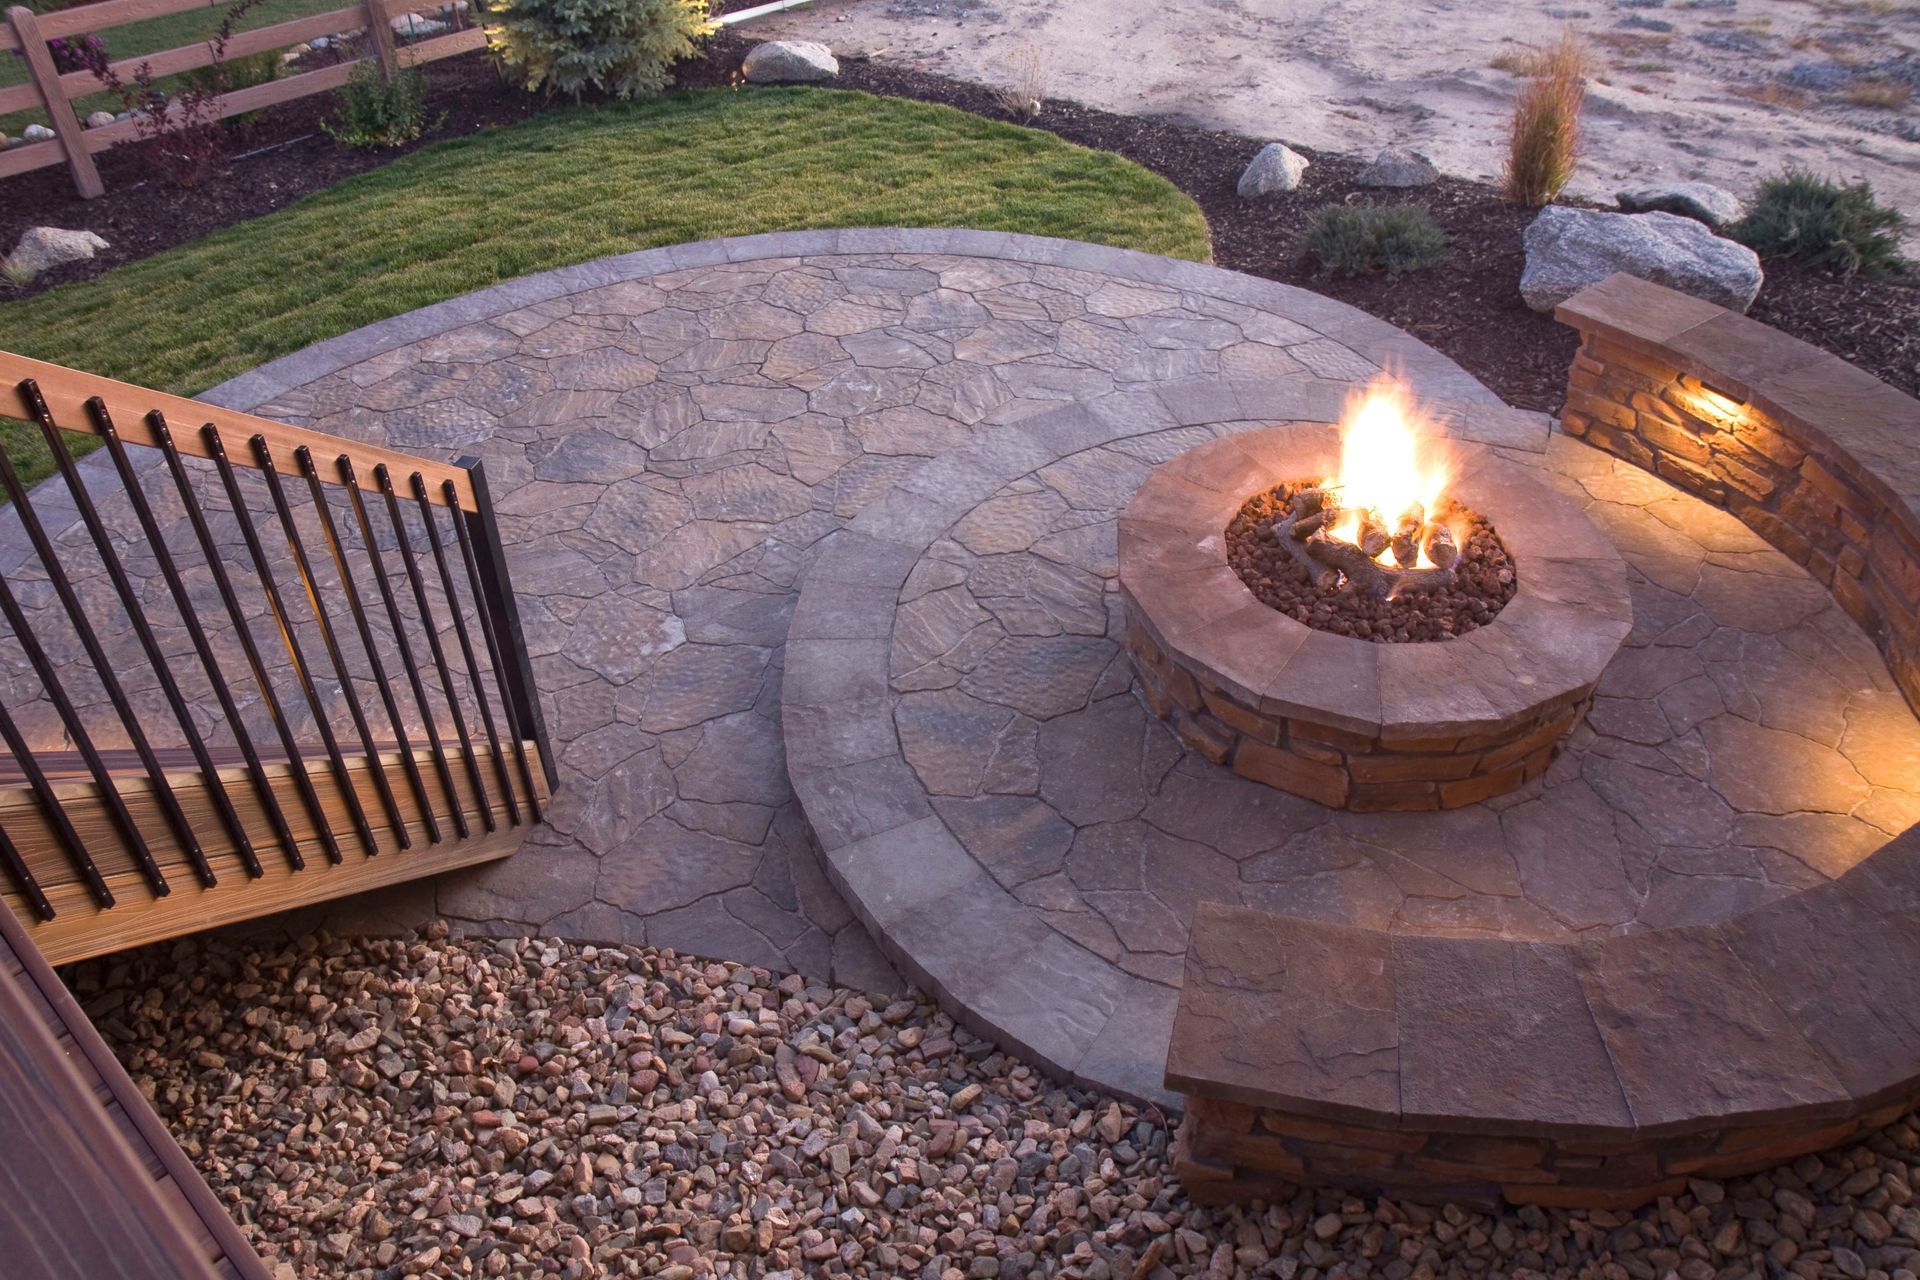
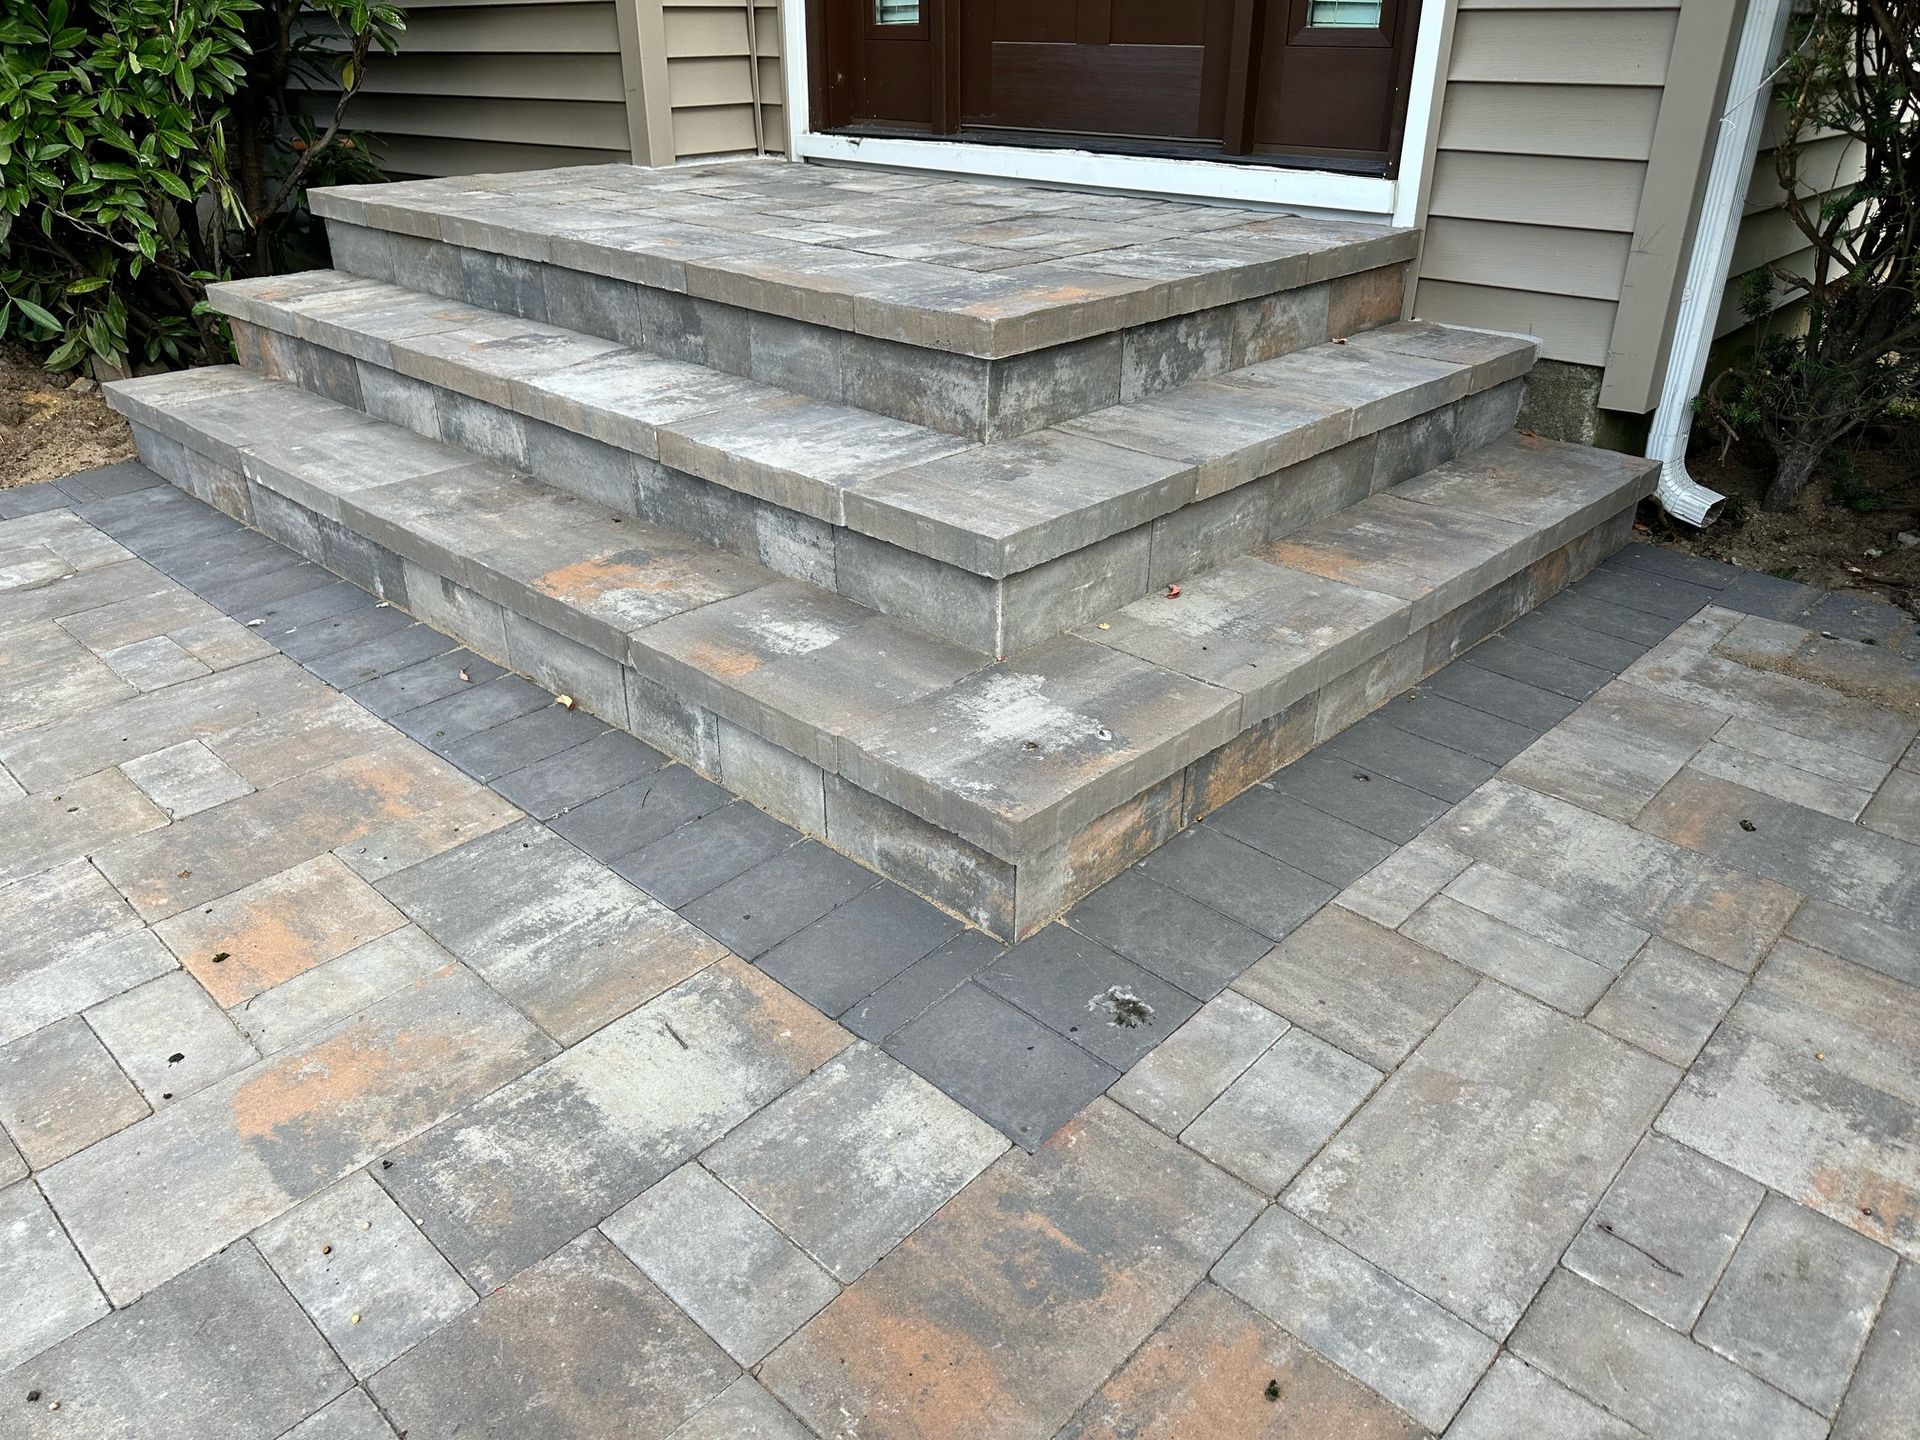
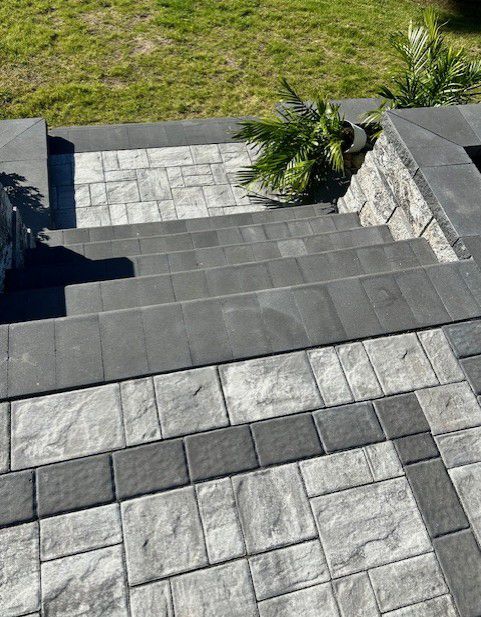
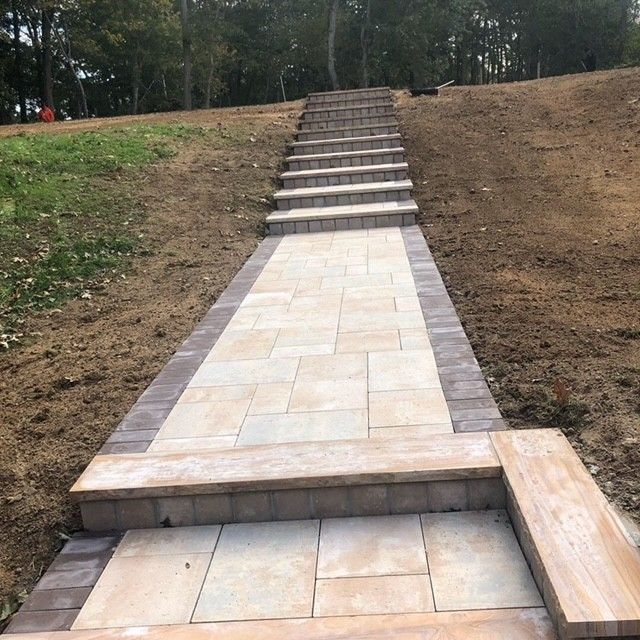
Laying the Pavers
With the foundation complete, it’s time to install the pavers. The choice of paver style and pattern is up to you, but the installation process remains consistent for all designs.
Steps to Lay the Pavers:
- Start from One Edge: Begin at a straight edge, such as the driveway’s perimeter, to ensure alignment.
- Maintain Consistent Gaps: Use spacers to create uniform gaps between pavers for a professional finish.
- Cut Pavers as Needed: Use a masonry saw to trim pavers for a perfect fit along edges and curves.
Laying the pavers with precision ensures a smooth and visually appealing driveway.
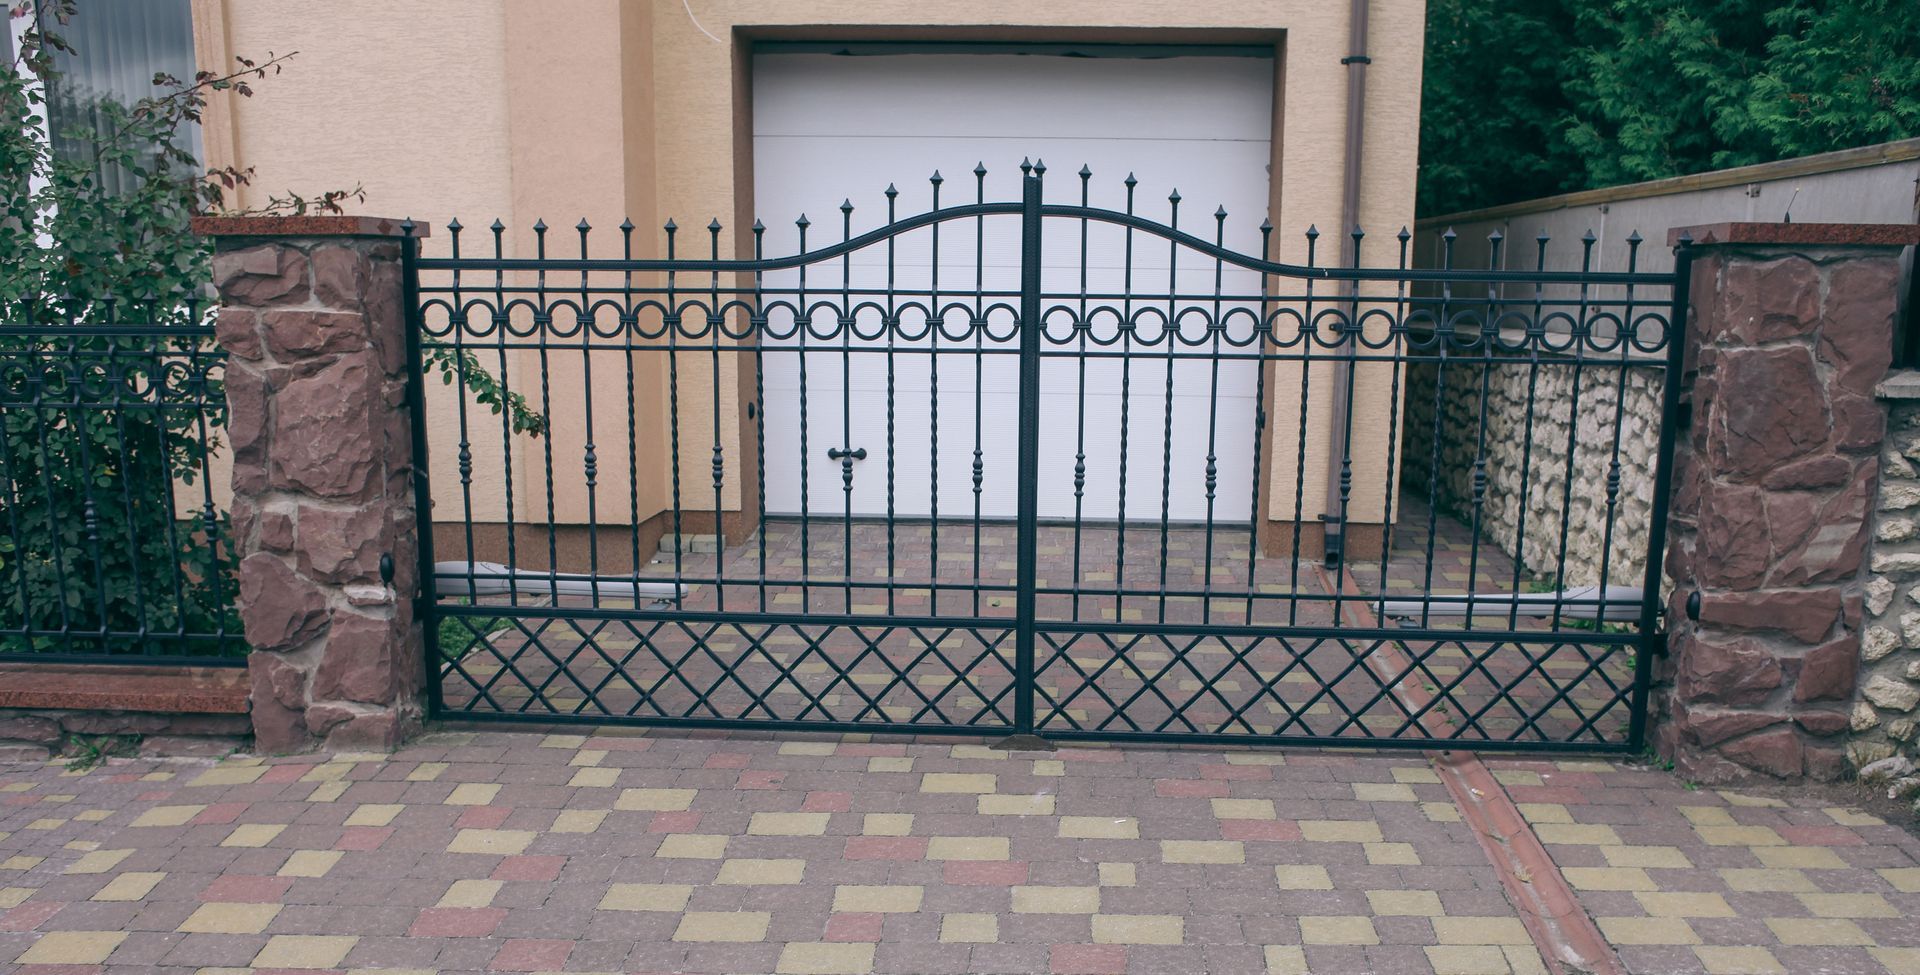
Securing the Borders
One of the most critical steps in ensuring the long-term stability of your paver driveway is securing the edges. Borders prevent the pavers from shifting or spreading over time due to vehicle traffic and weather conditions.
How to Secure Borders:
- Cement the Edges: Use concrete to secure the border pavers directly to the concrete base. This creates a rigid perimeter that locks the entire driveway in place.
- Double-Check Alignment: Ensure the borders are straight and properly aligned before the concrete sets.
- Reinforce as Needed: For added stability, consider installing edge restraints along the borders.
Properly secured borders are the backbone of a durable and stable paver driveway.
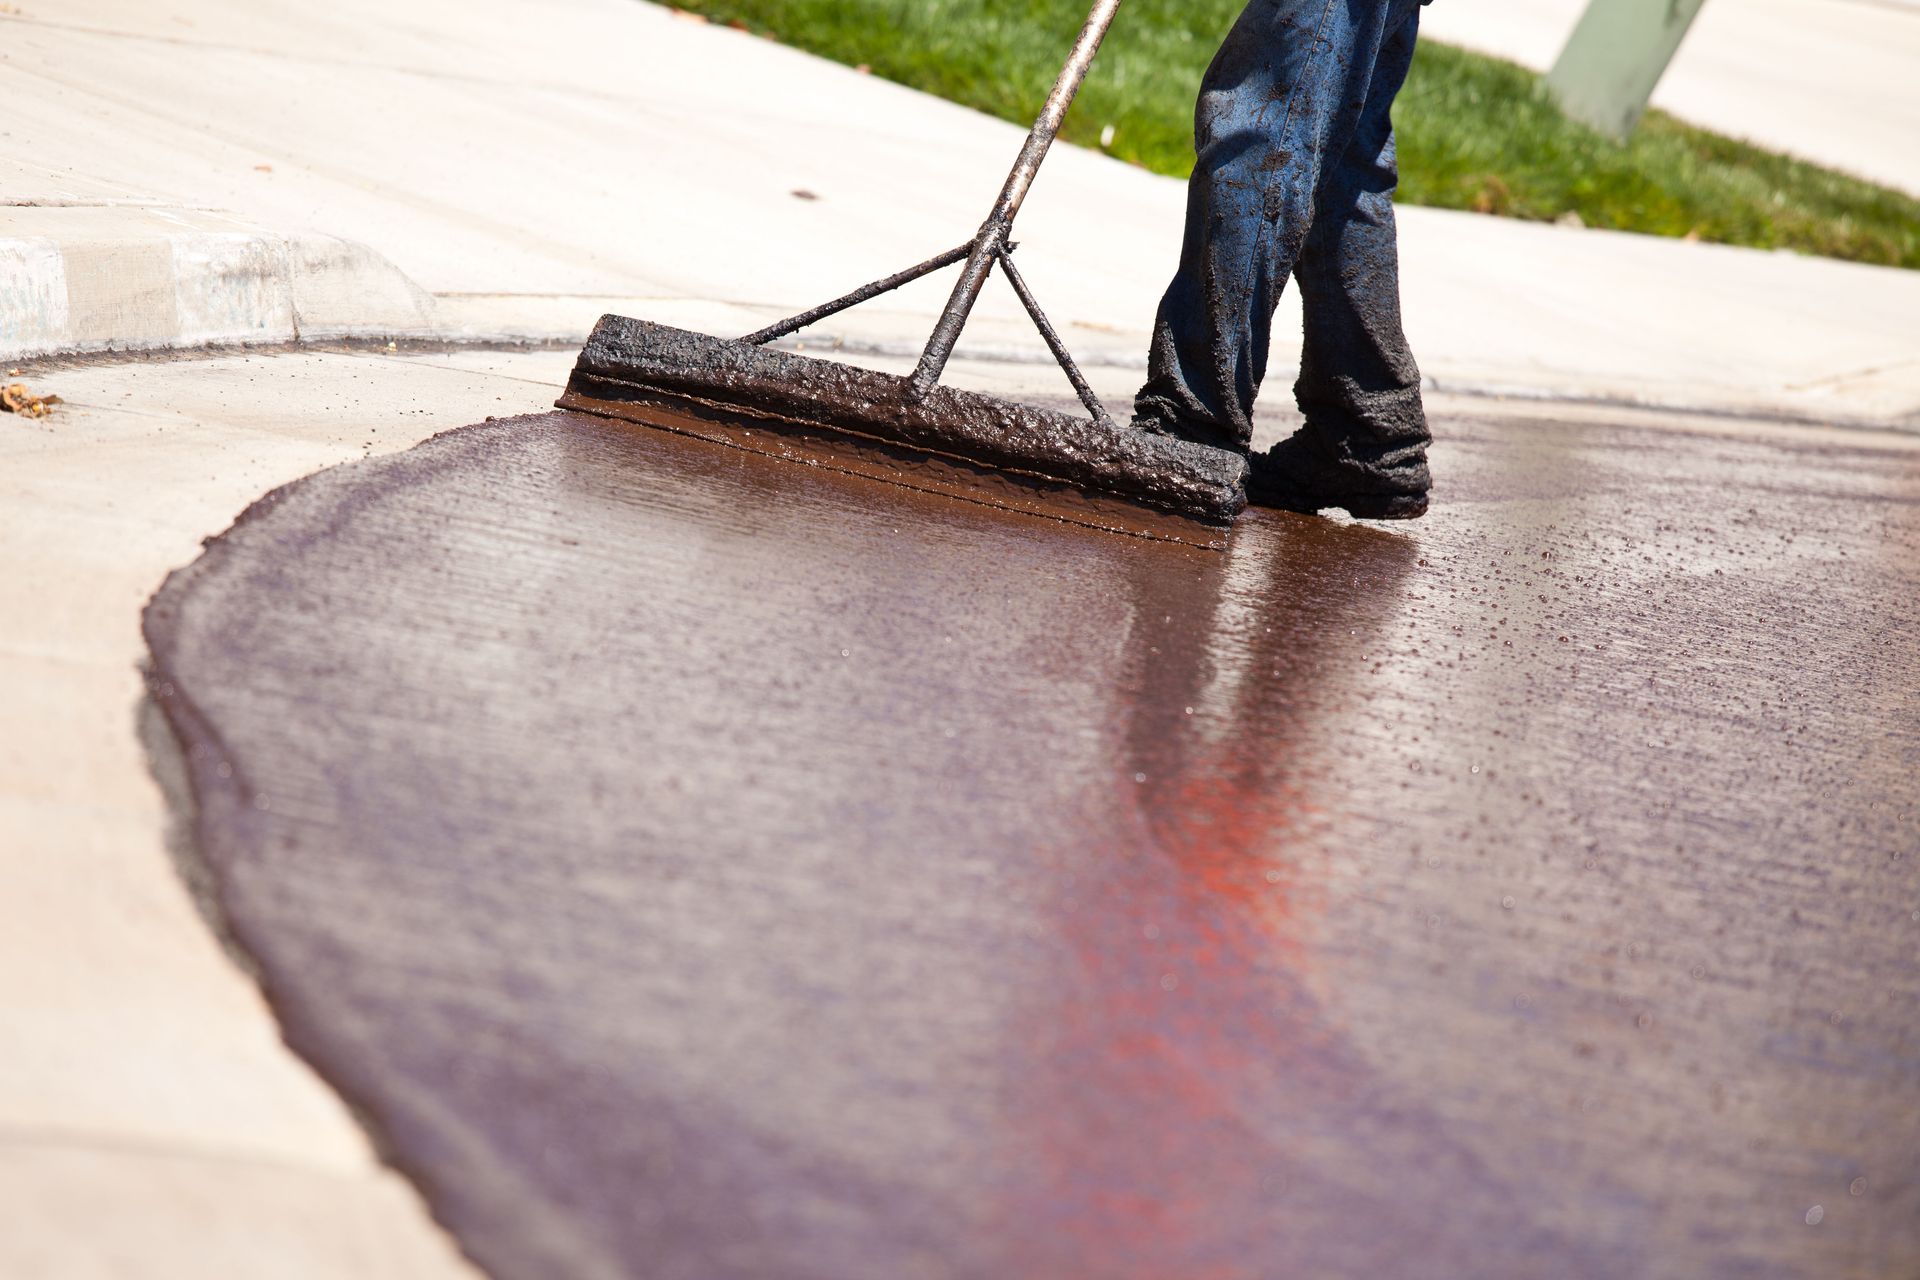
Using Polymeric Sand for Joints
The final step in the installation process is filling the joints between the pavers with polymeric sand. This specialized sand hardens when activated with water, creating a strong bond that prevents weeds and insects from penetrating the joints.
Steps for Applying Polymeric Sand:
- Spread Evenly: Pour the polymeric sand over the pavers and sweep it into the joints with a broom.
- Compact the Sand: Use a vibratory plate compactor to settle the sand into the joints, ensuring complete coverage.
- Activate with Water: Lightly mist the driveway with water to activate the polymeric sand, following the manufacturer’s instructions.
Polymeric sand not only enhances the appearance of your driveway but also increases its durability by locking the pavers in place.
Maintenance Tips for a Long-Lasting Paver Driveway
Following the above installation steps will ensure a strong and stable driveway, but regular maintenance is key to preserving its appearance and functionality. Here are some tips to keep your driveway in excellent condition:
- Seal the Surface: Apply a high-quality paver sealer to protect the surface from stains, weathering, and fading.
- Clean Regularly: Sweep away debris and wash the driveway periodically to prevent dirt buildup.
- Monitor for Weeds: Check for any signs of weeds or moss growth in the joints and address them promptly.
- Reapply Polymeric Sand: Over time, the sand between joints may wear away. Reapply polymeric sand as needed to maintain stability.
With proper care, your paver driveway will remain beautiful and functional for many years.
Why This Process Ensures Longevity
The process outlined above combines the best materials and practices to create a paver driveway that stands the test of time. From removing unsuitable soil to securing the borders with cement, each step is designed to maximize durability and prevent common issues like settling, cracking, or shifting.
By investing in quality materials, such as RCA aggregate, reinforced concrete, and polymeric sand, you ensure that your driveway can withstand heavy use and harsh weather conditions. The result is a driveway that not only looks stunning but also performs reliably for decades.
Conclusion
Installing a paver driveway is a significant project, but when done correctly, it can provide lasting value and beauty to your home. By following this comprehensive guide, you can create a driveway that remains stable, secure, and visually appealing for many years to come.
Whether you’re a homeowner planning a DIY project or a contractor aiming to deliver top-notch results, these best practices will help you achieve a paver driveway that exceeds expectations and stands as a testament to quality craftsmanship.

Share On: